From your own browser
Run your packaged Windows Unreal app and Epic's Pixel Streaming signalling server on one machine, and stream it to a browser tab on that same machine.
A packaged Windows build with the Pixel Streaming plugin enabled. If you want a build known to be good to compare against, the demo app on this page's source has already passed the upload sequence.
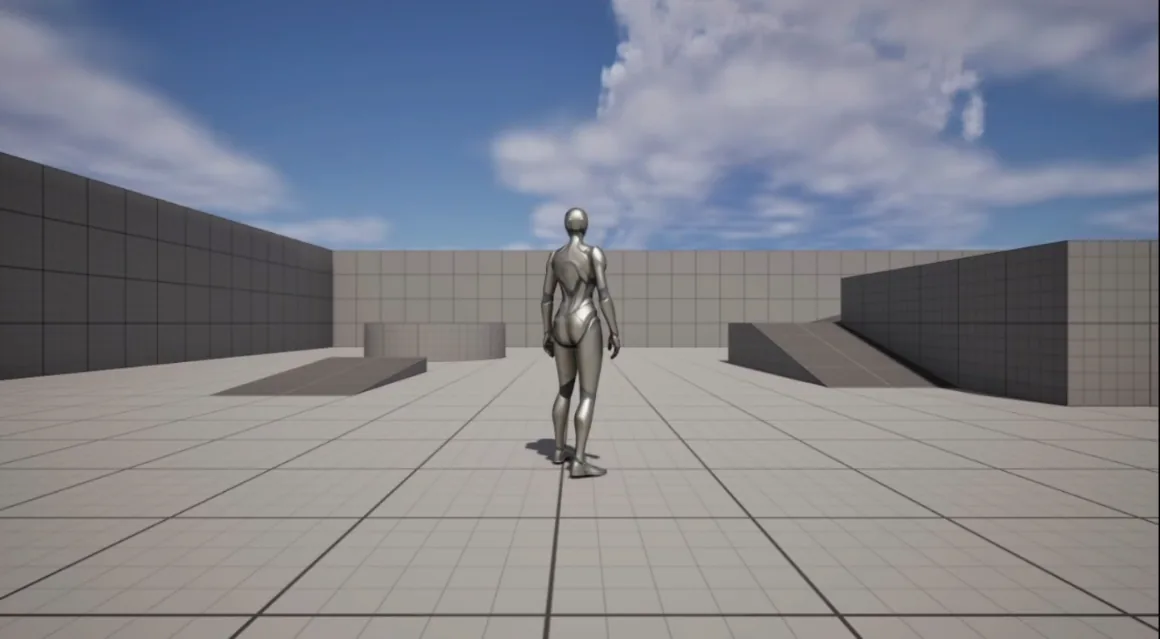
Step 1. Check the build runs at all
Double-click the .exe. It should open as an ordinary desktop
application.
Step 2. Fetch the signalling server
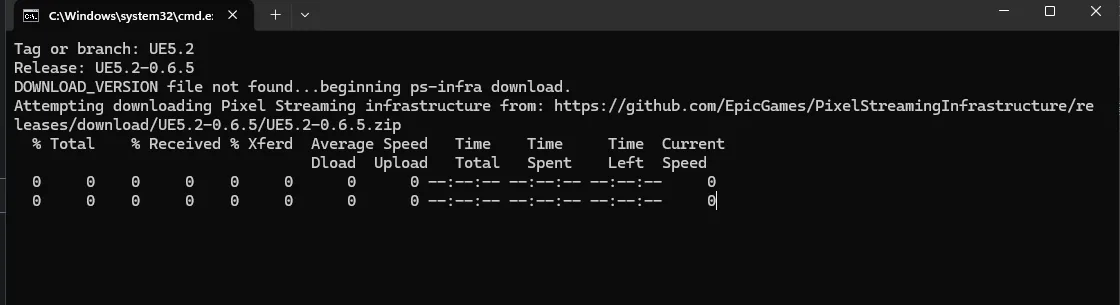
Epic's servers are not in the package by default — a script downloads
them. Open your build folder (the one with your .exe in it). Next
to the .exe is a folder named after your project
— not always the same name as the .exe. Run this file inside it:
<build folder>\<ProjectName>\Samples\PixelStreaming2\WebServers\get_ps_servers.bat
On an app using the older Pixel Streaming plugin, the folder is
PixelStreaming instead of PixelStreaming2.
Run it. A terminal opens, files download, and it closes itself when finished.
Step 3. Start the signalling server
In the same WebServers folder, run:
SignallingWebServer\platform_scripts\cmd\start.batThe first run takes a few minutes while it sets itself up. Leave that terminal open for the rest of this guide.
Do not click inside the black window. Not this one, and not the app's window in the next step. One click inside a black command window pauses everything running in it — the server or the app simply stops, and nothing tells you why.
If you already clicked, press Esc with that window selected. It starts running again straight away.
Step 4. Launch the app with streaming arguments
The app needs to be told to stream rather than open a window, by adding these to its launch:
-log -AudioMixer -PixelStreamingIP=127.0.0.1 -PixelStreamingPort=8888 -RenderOffScreen -AllowPixelStreamingCommands
-AllowPixelStreamingCommands lets the browser page send commands to
the app. Some tests need it, such as
reproducing
the NVIDIA driver crash.
Two ways to do it — pick whichever suits you.
Method 1: a shortcut (if you prefer the mouse)
Make a shortcut to the .exe, open its Properties,
and add the line above to the end of the Target field, after a
space. The whole field reads something like:
"C:\MyApp\MyApp.exe" -log -AudioMixer -PixelStreamingIP=127.0.0.1 -PixelStreamingPort=8888 -RenderOffScreen -AllowPixelStreamingCommands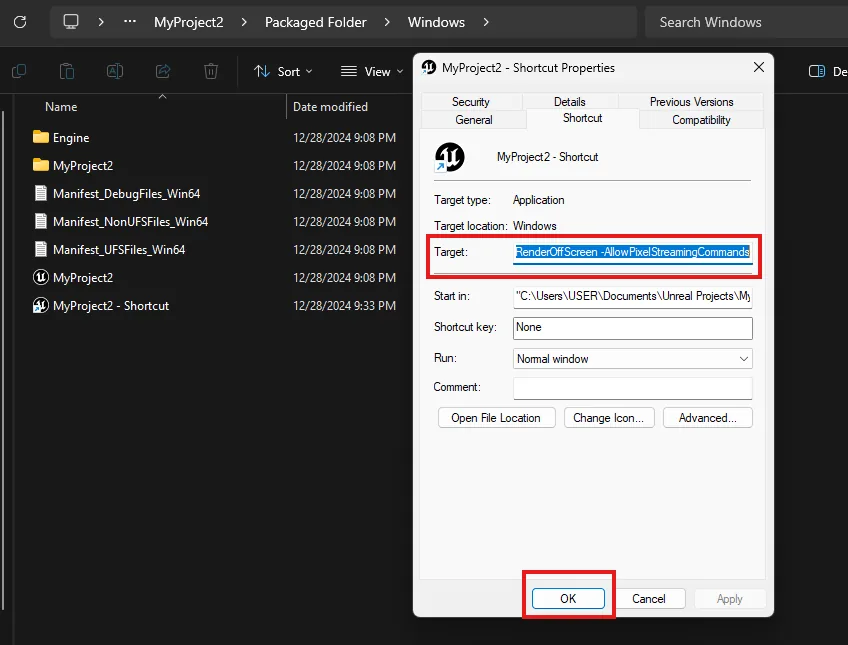
Click OK, then run the shortcut — not the original .exe.
Leave its terminal open too.
Method 2: a command window (if you prefer the keyboard)
Open a Command Prompt, paste the same full line — the .exe
path in quotes, then the arguments — and press Enter:
"C:\MyApp\MyApp.exe" -log -AudioMixer -PixelStreamingIP=127.0.0.1 -PixelStreamingPort=8888 -RenderOffScreen -AllowPixelStreamingCommandsLeave that window open.
Again: do not click inside the app's black window. If you did, press Esc.
Step 5. Open it in a browser
Open http://127.0.0.1 and press CLICK TO START.
If that page does not open, try http://localhost instead. On some
Windows machines one of the two addresses is blocked, so if one does not work,
try the other.
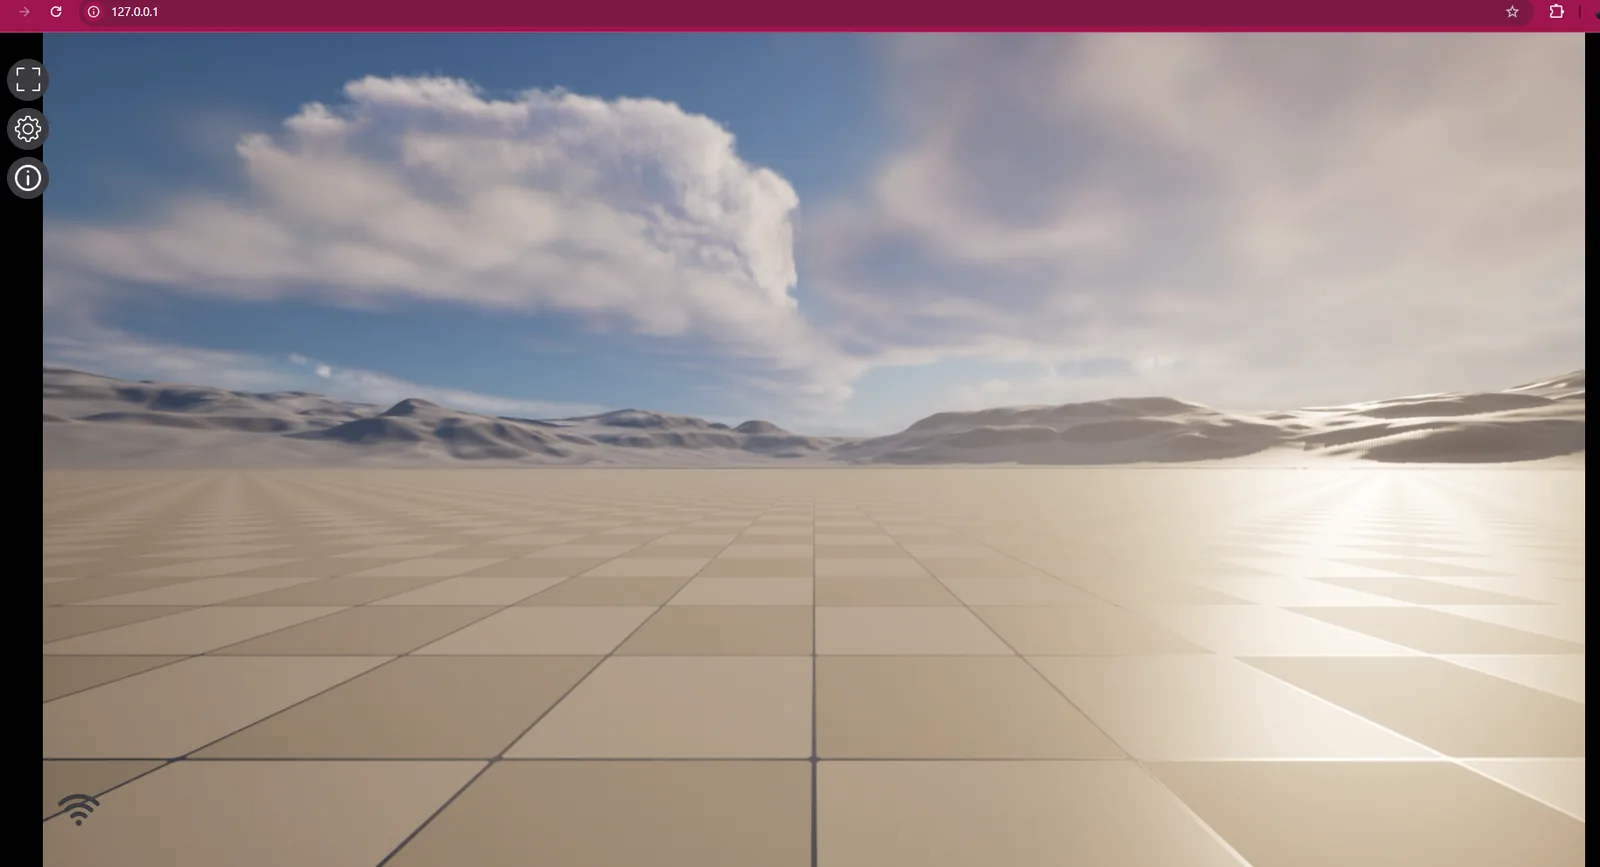
That is the same thing the platform checks when you upload. If it works here, the build itself is not the reason an upload fails.
If the page loads but the app never appears
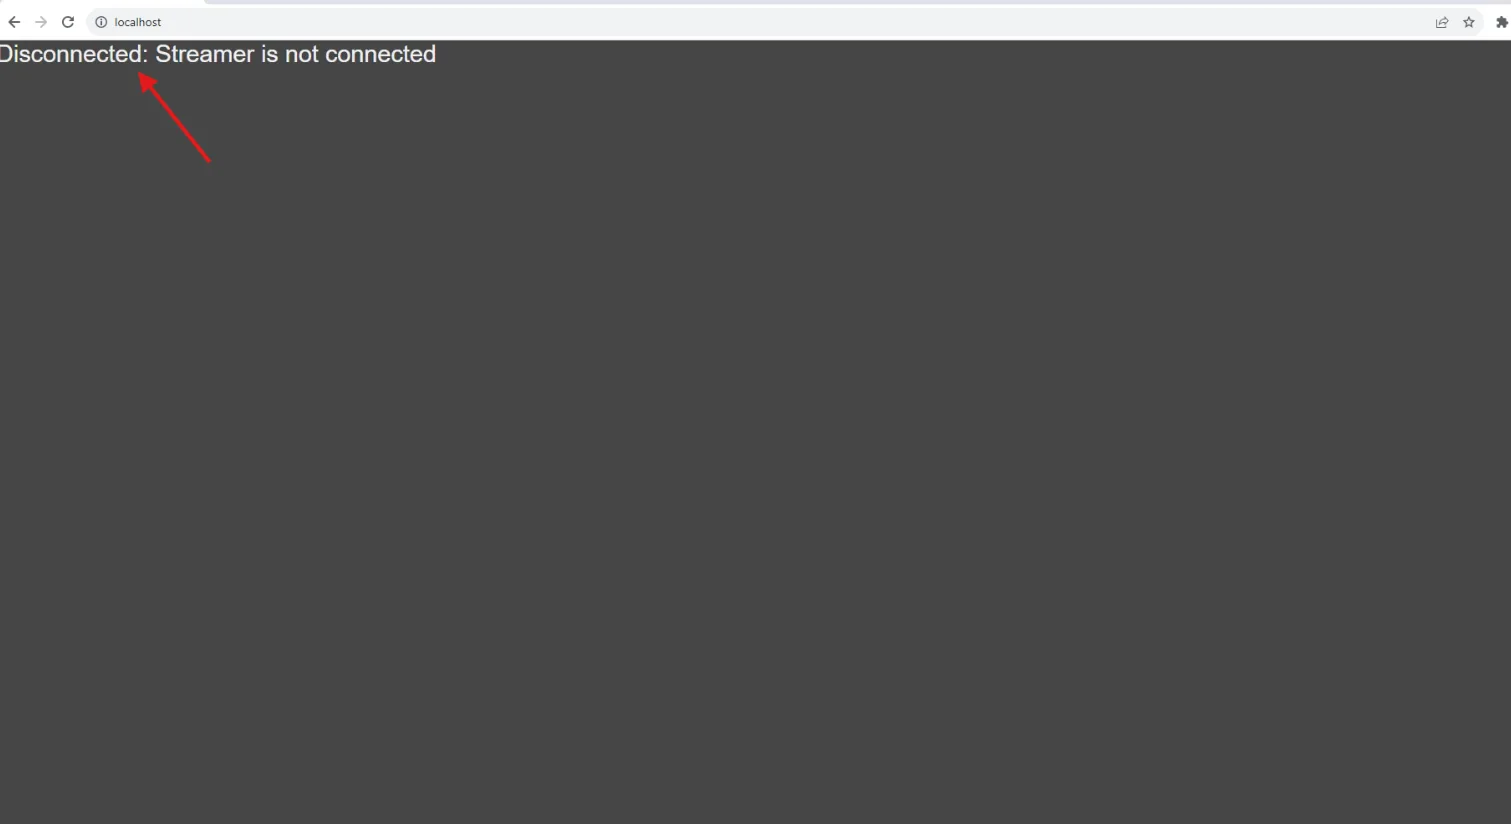
The page loaded, so the signalling server is working. The Unreal app has not connected to it yet, or is not running. Check that the app from step 4 is still open. The page and the server's terminal call the Unreal app the streamer — wherever you read "streamer", it means your app.
The same setup, reached from a phone on your network.
Last updated