NVIDIA DLSS
NVIDIA DLSS renders your Unreal app at a lower resolution and upscales it with NVIDIA's model. You get frame rate back on a GPU you cannot make faster.
Why it matters more here than on a desktop
On a streamed app the GPU is fixed — it is the machine allocated to your app, not one the viewer can upgrade. If your project is short of frame rate, you cannot ask for better hardware; you have to render more cheaply. DLSS does exactly that: fewer pixels rendered, the missing ones reconstructed.
Every frame your app fails to produce is a frame the encoder cannot send. Rendering headroom shows up directly as smoothness in the stream, which is not true of a desktop build where the display is local.
Adding it to your project
-
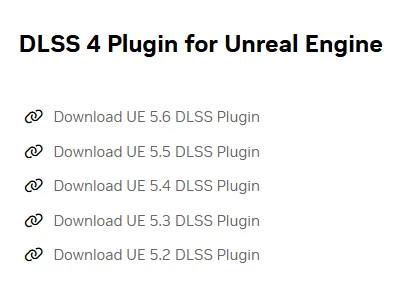
Download the DLSS plugin from NVIDIA, matching your Unreal version.
-
Copy all the plugin folders from the package's
Pluginsfolder —DLSS,DLSSMoviePipelineSupport,NISand theStreamlinefolders — into your project'sPluginsdirectory.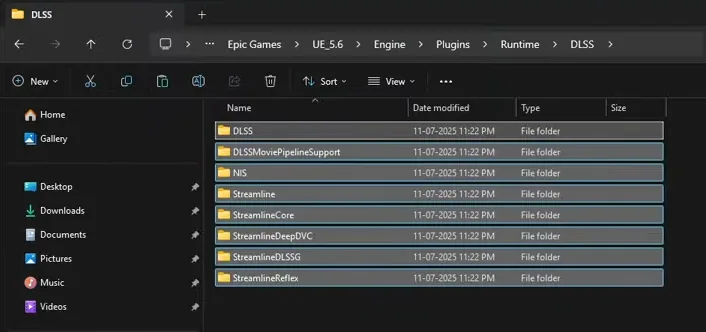
The eight folders to copy. This screenshot shows them in the engine's own plugin folder; the project's Pluginsdirectory holds the same set. -
Copy the widget plugin too, from
plugin → samples → Plugins. This is the on-screen overlay that lets you see and change DLSS settings while running.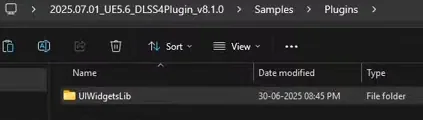
-
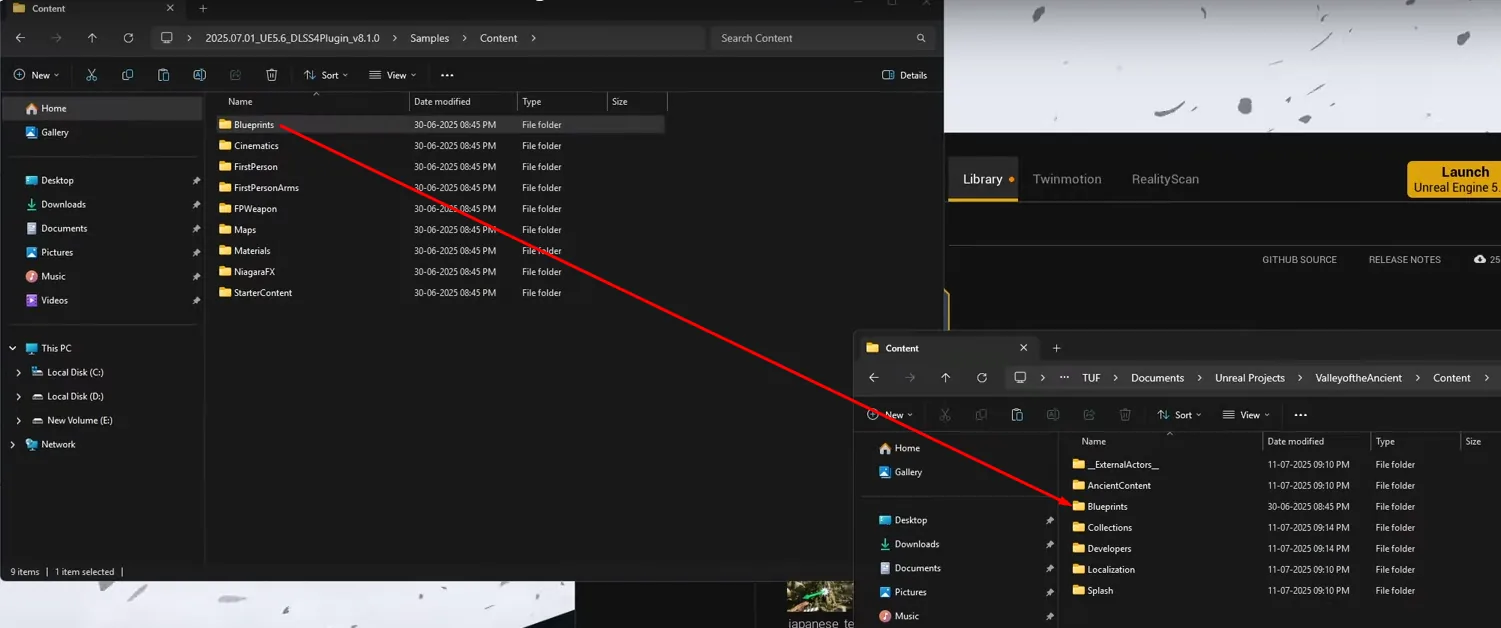
Clone the Blueprint folder from the sample content into your project.
-
Enable Pixel Streaming, DLSS (NVIDIA) and NVIDIA UI Widgets Lib under Edit → Plugins, then restart the editor. UI Widgets Lib is what the widget from step 3 is built on.

-
Show the widget from your Level Blueprint, so you can toggle DLSS modes at runtime.
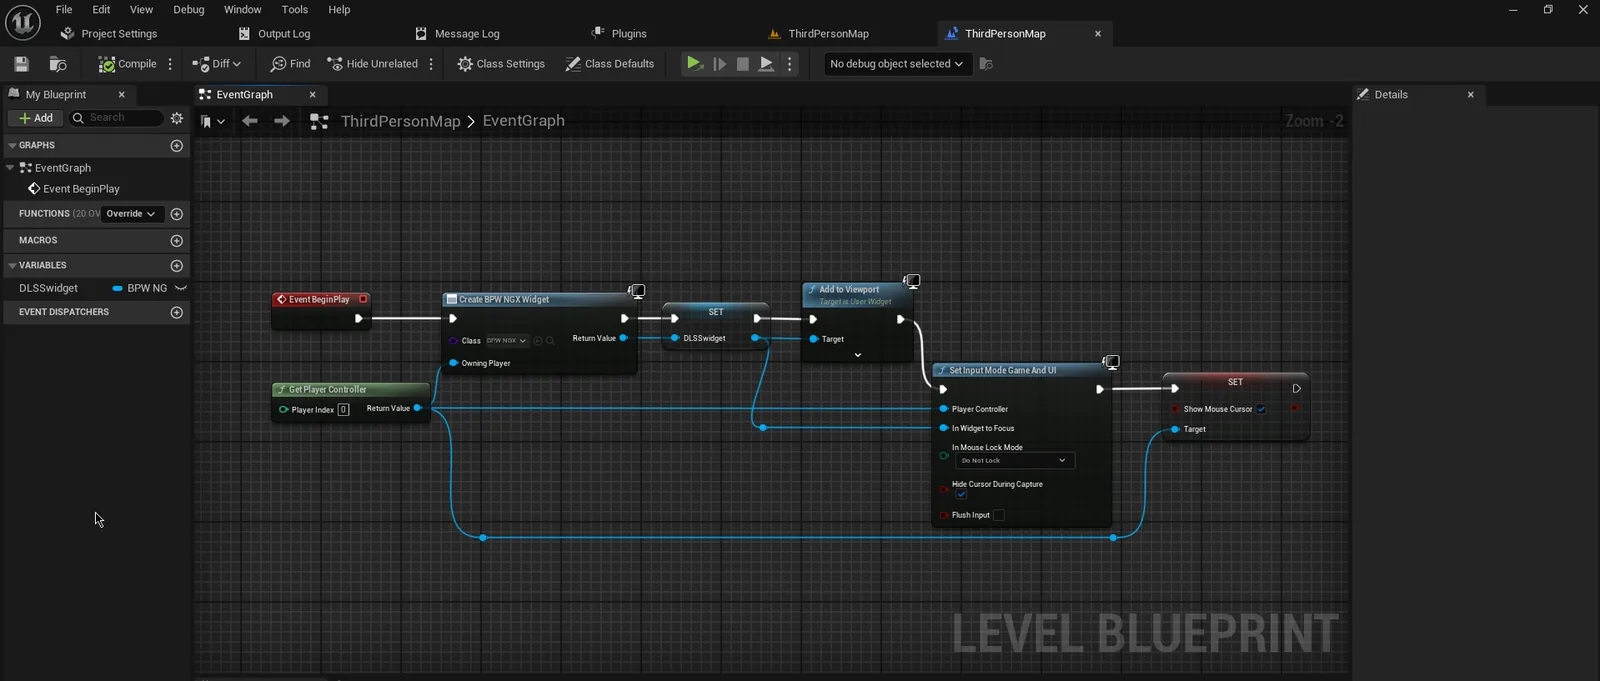
The Show Mouse Cursor node here is for testing in the editor only. In a streamed build it gives the slow, Unreal-drawn cursor — see mouse and fullscreen.
Testing it
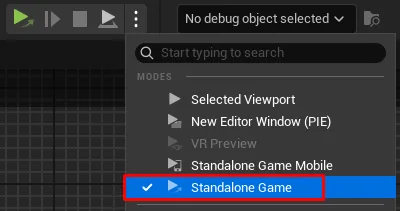
Launch in Standalone Game mode and confirm the widget appears and responds. Press H to hide the overlay once you have what you need.
Before packaging
Set the mode you chose at Event BeginPlay in the Level Blueprint, with the DLSS Blueprint library's Set DLSS-SR Mode node (Set DLSS Mode in older plugin versions).
Delete the widget nodes from step 6, including Show Mouse Cursor, so the overlay never reaches a viewer.
The rest of the frame budget: what to cut before reaching for upscaling.
Last updated